![]()
![]()
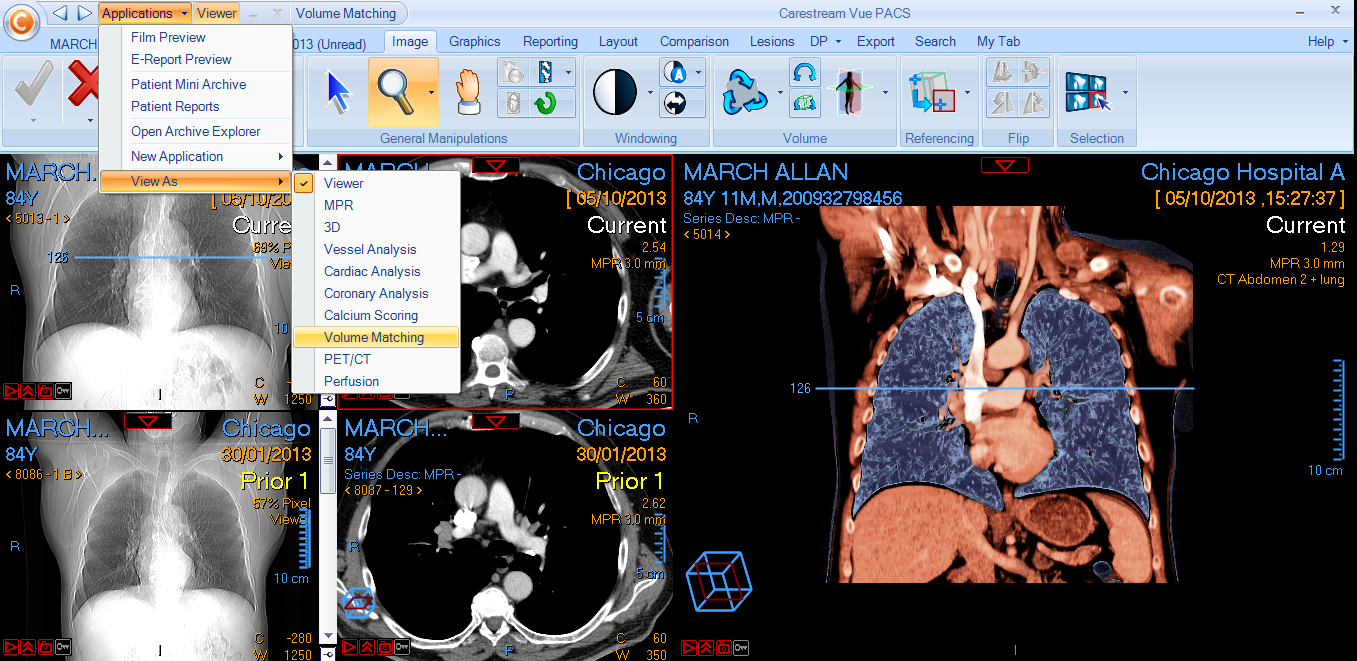
You can create a Volume Matching view manually.
|
To create a |
Do this: |
|
From the Archive Explorer |
Right-click a study group, select Load To, then select Volume Matching.
|
|
In the PowerViewer |
For current studies:
Or
Or
|
|
From the Patient Mini-Archive |
1. Right-click a study group, then drag it to the display area. 2. Select Volume Matching. |
|
To an open application |
If the currently open application is Volume Matching, click the study group in the Patient Mini-Archive, then drag it to the display area. The selected group of images appears in the application. The reference images and result images appear in the location and layout that was last used. |