![]()
![]()
You can create a 3D view manually. For information about automatically creating a 3D view, go to Display Protocols.
|
To create a 3D View: |
Do this: |
|
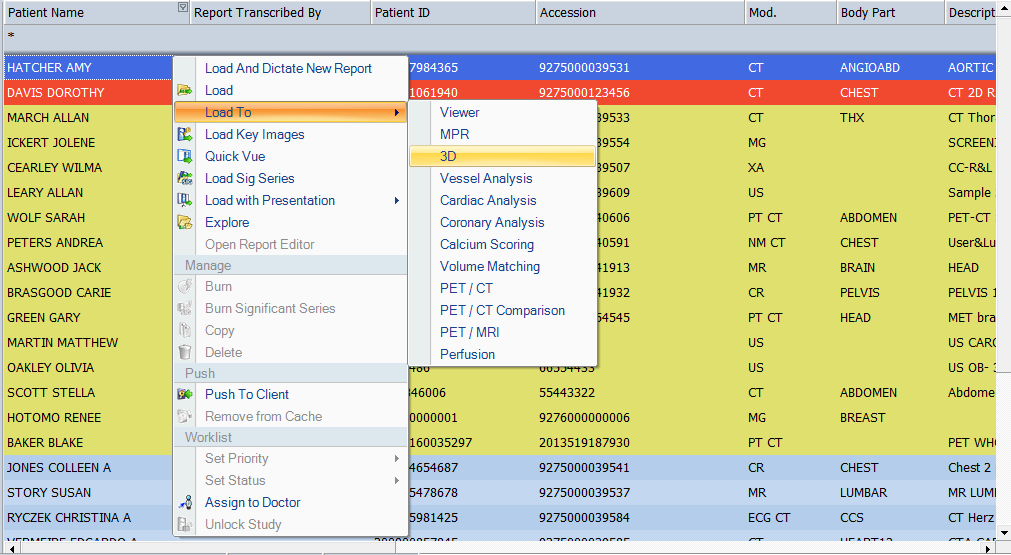
From the Archive Explorer |
Right-click a study group, select Load To, then select 3D.
NOTE: If several phases are selected, the application opens only one viewer window with all the phases. |
|
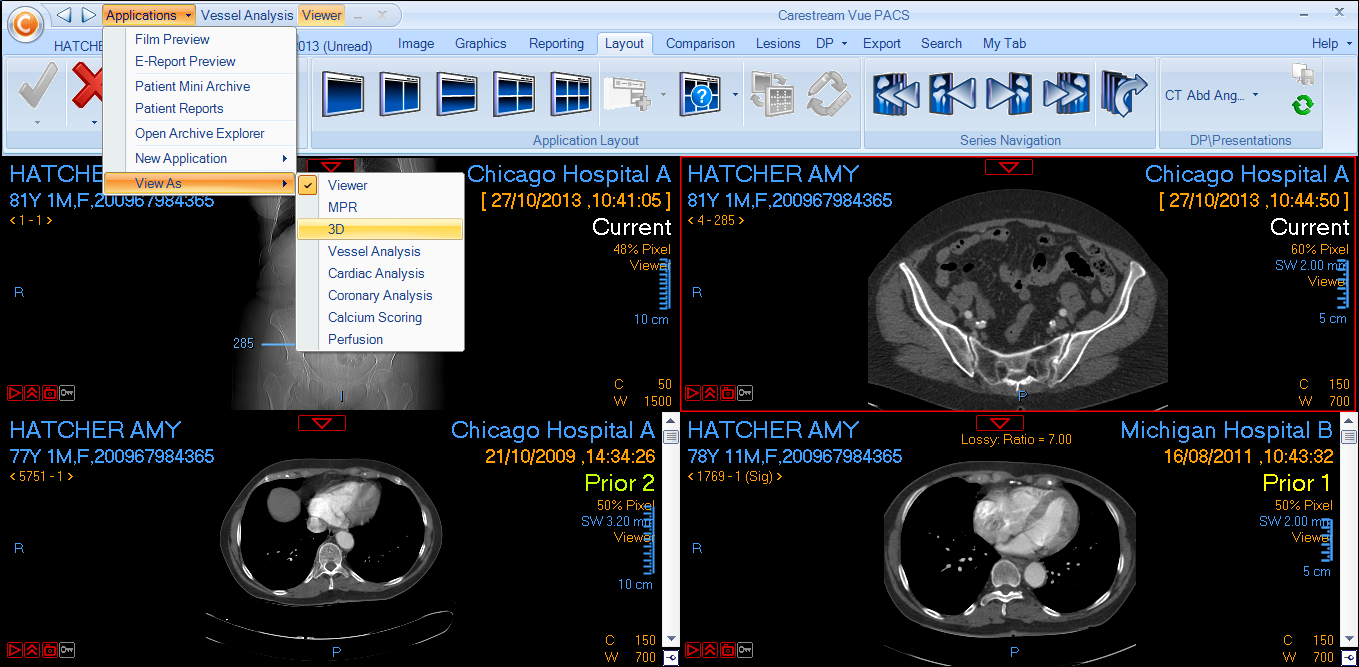
In the PowerViewer |
|
|
From the Patient Mini-Archive |
1. Right-click a study group, then drag it to the display area. 2. Select 3D. |
|
To an open application |
If the currently open application is 3D, click the study group in the Patient Mini-Archive, then drag it to the display area. The selected group of images appears in the application. The reference images and result images appear in the location and layout that was last used. |
You can define display protocols that let you customize the display of studies in the Viewer, including viewing a group of images in Angiography or Volume Rendered mode.
See this topic: